
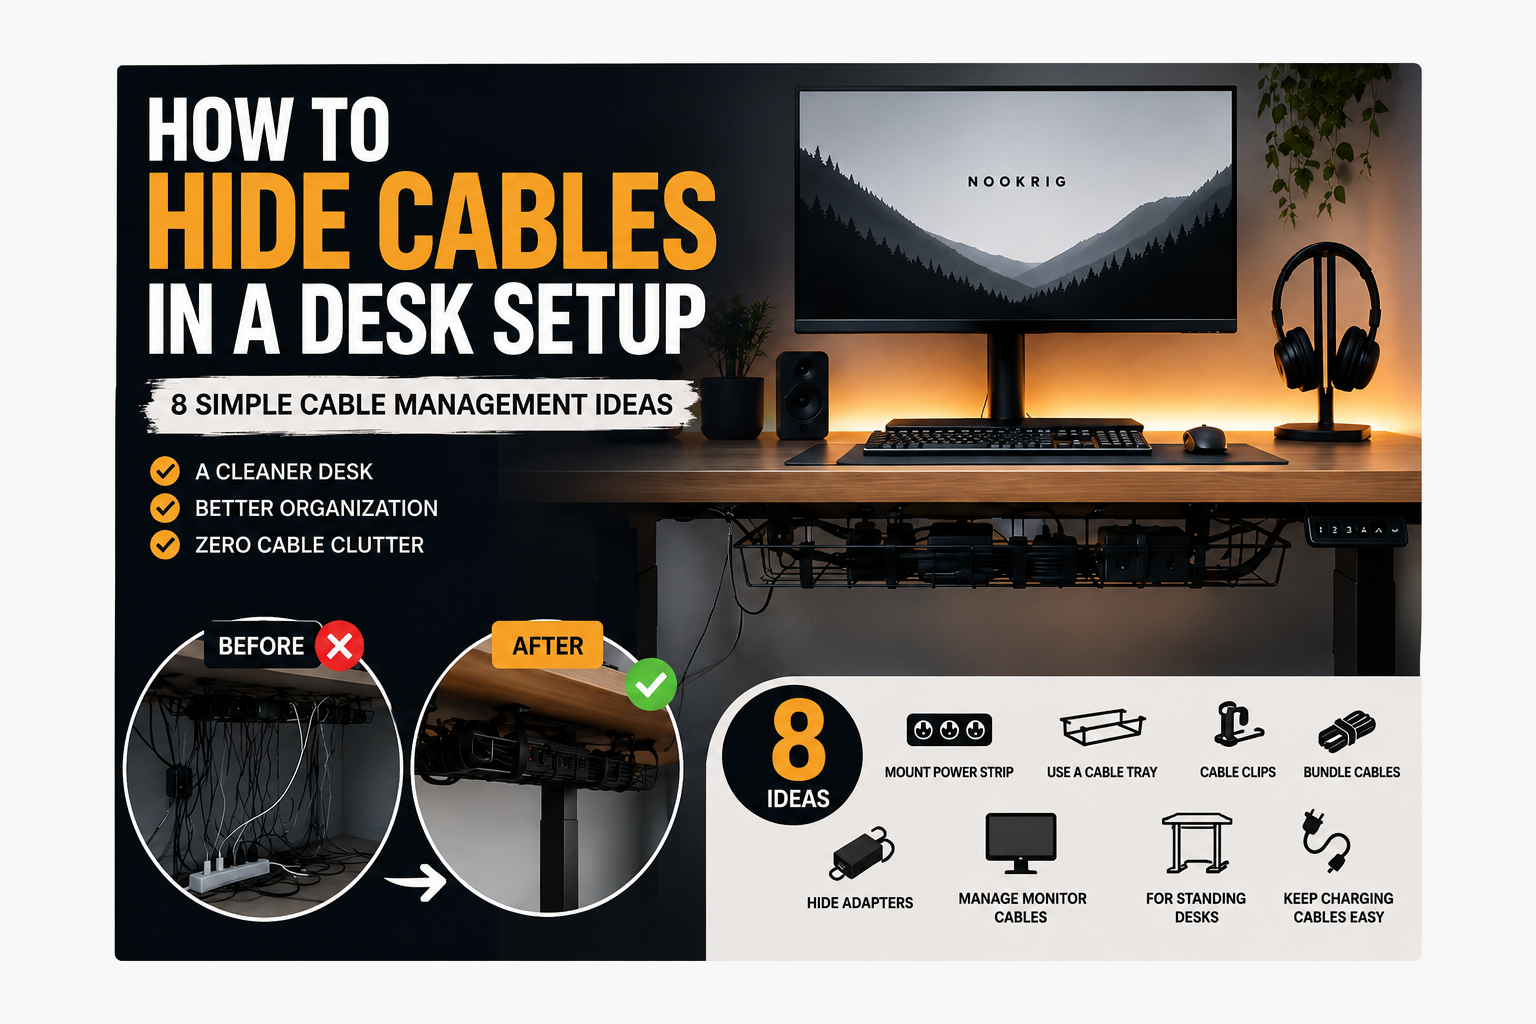
Visible cables can make even a good desk setup look messy. Power strips, charging cables, monitor wires, and adapters quickly build up around the desk and make the whole workspace feel more cluttered than it actually is.
The good news is that you do not need an expensive custom desk to fix it. With a few simple cable management tools and some planning, you can hide most cables, keep frequently used ones accessible, and make your desk look much cleaner.
In this guide, we’ll go through eight practical ways to hide cables in a desk setup, including solutions for power strips, monitors, laptops, standing desks, and everyday charging cables.
Jump to Any Cable Management Tip
- Mount the Power Strip Under the Desk
- Use an Under-Desk Cable Tray
- Route Cables Along the Back of the Desk
- Use Cable Clips for Frequently Used Cables
- Bundle Long Cables
- Hide Power Bricks and Adapters
- Manage Monitor and Laptop Cables
- Cable Management for Standing Desks
- Simple Cable Management Setup
- Common Cable Management Mistakes
- FAQ
Why Cable Management Matters
Cable management is not only about making a desk look better.
Keeping cables organized can make it easier to clean the workspace, reduce the chance of unplugging something accidentally, and make future upgrades much simpler.
It also helps keep power bricks, adapters, and excess cable length away from your feet and chair.
For most setups, the biggest improvement comes from moving cables underneath or behind the desk instead of trying to hide everything on top of it.
1. Mount the Power Strip Under the Desk
One of the easiest ways to clean up a desk setup is to move the power strip off the floor and mount it underneath the desk.
Instead of having several cables running down toward the floor, you can connect your monitor, laptop charger, desk lamp, and other devices to one power strip hidden under the desktop.
This makes the setup look cleaner and keeps plugs and adapters away from your feet.
You can mount a power strip using:
- an under-desk power strip holder
- strong adhesive mounting tape
- screws or brackets
- a cable management tray large enough to hold the power strip
For a cleaner result, position the power strip near the back edge of the desk. This allows most device cables to travel only a short distance before disappearing underneath.
Quick Tip
Leave enough space around the power strip so you can still reach the power button and unplug devices when needed.
Avoid tightly wrapping power cables around the strip or stacking large power adapters on top of each other. A little breathing room makes the setup easier to manage and safer to use.
2. Use an Under-Desk Cable Tray
An under-desk cable tray is one of the most effective tools for hiding a large group of cables at once.
It gives you a dedicated place to store power strips, adapters, excess cable length, and charging bricks instead of leaving everything hanging under the desk.
A good cable tray can help you:
- keep cables off the floor
- hide bulky power adapters
- reduce visible cable clutter
- make vacuuming and cleaning easier
- keep cables away from your feet
For most setups, the best position is along the back underside of the desk.
This keeps the tray mostly invisible while still giving you easy access when you need to add or remove a cable.
What to Look For
Choose a cable tray that is wide enough to hold your power strip and the thickest adapters in your setup.
Metal trays are usually more durable, while clamp-on models are useful if you do not want to drill holes into the desk.
Quick Tip
Do not completely fill the tray.
Leaving some extra space makes it much easier to add another charger, monitor cable, or device later without having to redo the entire setup.
3. Route Cables Along the Back of the Desk
Once the power strip and main cables are off the floor, the next step is to control where the cables actually run.
Instead of letting wires hang freely behind the desk, guide them along the back edge or underside of the desktop.
You can use:
- adhesive cable clips
- cable raceways
- Velcro straps
- reusable cable ties
The goal is to create one clean path for most cables instead of having several wires dropping in different directions.
For monitor, keyboard, speaker, and charging cables, route them toward the same side of the desk whenever possible. This makes the setup look more organized and easier to maintain.
Keep Some Slack
Do not pull cables completely tight.
Leave a little extra length near monitors, laptops, or other devices that may need to move. This is especially important if you use an adjustable monitor arm or regularly move your laptop.
Quick Tip
Before attaching clips or raceways permanently, place the cables where you want them and test the setup first.
It is much easier to adjust the route before everything is stuck to the desk.
4. Use Cable Clips for Frequently Used Cables
Some cables should stay easy to reach.
Phone chargers, USB-C cables, headphones, and other frequently used connections can become annoying if they constantly fall behind the desk.
Cable clips solve this by keeping the ends of those cables in a fixed position.
You can place them:
- along the side of the desk
- near the front edge
- behind the monitor
- next to a laptop stand
- beside a charging station
This keeps your most-used cables accessible without leaving them scattered across the desktop.
Choose the Right Clip Size
Make sure the clip matches the thickness of the cable.
A clip that is too loose will not hold the cable properly, while one that is too tight can make it difficult to remove or reposition.
Quick Tip
Use cable clips only for the wires you regularly unplug.
Permanent cables such as monitor power cords are usually better routed underneath or behind the desk.
5. Bundle Long Cables
Extra cable length is one of the main reasons the area under a desk starts to look messy.
Instead of leaving long cables hanging or coiled on the floor, bundle the unused length and secure it neatly.
Good options include:
- reusable Velcro ties
- soft cable straps
- cable sleeves
- spiral cable wraps
For most setups, Velcro ties are the easiest choice because they can be opened and adjusted whenever you change a device.
Try to keep each cable bundle small and organized rather than forcing every wire into one large bundle.
Avoid Tight Loops
Do not bend cables too sharply or wrap them extremely tight.
Loose loops are easier on the cable and make future adjustments much simpler.
Quick Tip
Bundle excess cable length close to the power strip or cable tray.
That way, the extra wire stays hidden instead of hanging somewhere visible behind the desk.
6. Hide Power Bricks and Adapters
Large power bricks and adapters can make an otherwise clean desk setup look cluttered very quickly.
Instead of leaving them on the floor or hanging from cables, place them inside an under-desk cable tray, mount them beneath the desk, or secure them close to the power strip.
This works especially well for:
- laptop chargers
- monitor power adapters
- speaker power supplies
- docking station adapters
- LED lighting power bricks
Keeping these bulky components together makes the area under the desk look much cleaner and reduces the number of items touching the floor.
Keep Them Accessible
Do not bury adapters so deeply that they are difficult to reach.
You may need to unplug or replace them later, so leave enough room to access the connectors without removing the entire cable management system.
Quick Tip
If several adapters look similar, add a small label to each one.
It makes future troubleshooting much easier when you need to identify which power brick belongs to which device.
7. Manage Monitor and Laptop Cables
Monitor and laptop cables are often the most visible wires in a desk setup, especially when they run across the desktop or hang behind the screen.
The easiest way to clean them up is to route everything toward one hidden path behind or underneath the desk.
For a monitor setup, try to group:
- power cables
- HDMI or DisplayPort cables
- USB cables
- monitor arm cables
If you use a monitor arm, take advantage of its built-in cable channels or clips. These can keep the cables close to the arm instead of letting them hang freely.
For laptops, USB-C docking can also reduce clutter by combining charging, display output, and accessories into a single cable.
Keep Movement in Mind
If your monitor arm moves often, leave enough slack near the joints.
The same applies to laptops that you regularly remove from a stand or docking station.
Quick Tip
Try to keep only one visible cable going toward the desk whenever possible.
The fewer separate cable paths you can see, the cleaner the entire setup will look.
8. Cable Management for Standing Desks
Standing desks need a slightly different cable management approach because the desktop moves up and down.
If cables are too short or fixed too tightly, they can pull on devices, disconnect, or become damaged when the desk changes height.
The easiest solution is to keep most cables attached to the moving part of the desk and leave only one controlled cable path going toward the wall outlet.
Useful options include:
- under-desk cable trays
- flexible cable sleeves
- Velcro straps
- cable chains or spines
- mounted power strips
Mounting the power strip underneath the desk is especially useful because your monitor, laptop, and accessories can move together with the desktop.
Test the Full Range
After organizing the cables, raise the desk to its highest position and then lower it completely.
Check that nothing becomes stretched, pinched, or caught around the desk frame.
Quick Tip
Leave a little extra cable length between the desk and the wall outlet.
That extra slack gives the desk enough room to move without pulling on the plug.
Simple Cable Management Setup
If you are starting from scratch, you do not need to organize every cable individually from the beginning.
A simple setup can handle most of the clutter with only a few basic tools.
Here is an easy order to follow:
- Mount the power strip underneath the desk.
- Place a cable tray near the back edge.
- Route monitor and laptop cables toward the tray.
- Bundle extra cable length with Velcro ties.
- Secure visible cables with clips or a raceway.
- Keep frequently used charging cables within reach.
- Test that everything still moves and disconnects properly.
This approach keeps the main cable mess hidden while still making future changes easy.
A Simple Starter Kit
For most desk setups, you only need:
- one under-desk cable tray
- reusable Velcro ties
- a few adhesive cable clips
- one cable sleeve or raceway
- a way to mount the power strip
You can always add more advanced solutions later if your setup becomes more complex.
Quick Tip
Do not try to make every cable completely invisible.
A clean setup is mostly about controlling where cables go and keeping them away from the most visible areas.
Common Cable Management Mistakes
Cable management can make a desk look much cleaner, but a few common mistakes can make the setup harder to use later.
Making Cables Too Tight
Do not stretch cables to their maximum length.
Leave a little slack near monitors, laptops, and adjustable devices so nothing gets pulled when you move them.
Hiding Everything Permanently
Avoid attaching every cable so tightly that it becomes difficult to replace a charger or add a new device.
Reusable Velcro ties and removable clips are usually better than permanent solutions.
Ignoring Power Bricks
Organizing the cables while leaving large adapters on the floor still creates visual clutter.
Try to keep power bricks inside a tray or mounted underneath the desk.
Mixing Every Cable Into One Bundle
One huge bundle can become difficult to troubleshoot.
Keeping power, display, and frequently used charging cables slightly separated makes future changes easier.
Forgetting About Standing Desk Movement
If your desk changes height, always test the cables at both the lowest and highest positions.
A cable that looks fine while sitting may become too short when the desk is raised.
Prioritizing Looks Over Access
The cleanest cable setup is not necessarily the one where every wire is completely invisible.
A good system should look tidy while still allowing you to unplug, replace, or move devices without rebuilding everything.
FAQ
What is the easiest way to hide cables under a desk?
The easiest method is to mount the power strip underneath the desk and use a cable tray to hold adapters and excess cable length.
This removes most cables from the floor and keeps the setup much cleaner.
How do I hide cables without drilling into my desk?
Use clamp-on cable trays, adhesive cable clips, removable mounting strips, and Velcro ties.
These options work well for renters or anyone who does not want to make permanent changes to the desk.
How do I keep charging cables from falling behind the desk?
Attach small cable clips near the edge of the desk.
They keep charging cables, USB-C cables, and headphone wires in an easy-to-reach position.
What is the best way to organize cables for a standing desk?
Mount the power strip and most cable management accessories directly underneath the moving desktop.
Then leave enough slack in the main power cable so the desk can move through its full height range safely.
How can I make cable management look cleaner?
Try to create one main cable path instead of several separate wires running in different directions.
Keep adapters and extra cable length hidden underneath the desk and leave only the cables you need visible.
Final Thoughts
Good cable management does not require a complicated system or expensive accessories.
For most desk setups, the biggest improvements come from mounting the power strip underneath the desk, using a cable tray, bundling excess cable length, and creating one clean route for the remaining wires.
Start with the cables that create the most visible clutter and improve the setup gradually.
A few small changes can make the entire workspace feel cleaner, easier to maintain, and much more organized.
If you are also looking for practical accessories to improve your workspace, check out our guide to the 15 Best Desk Accessories for a Clean Setup.
Leave a Reply